
Bathroom Waterproofing · UAE waterproofing service
Bathroom Waterproofing Across the UAE
We deliver bathroom waterproofing for property owners and facility teams who need lasting protection in UAE heat, UV and seasonal rain — not a quick coat that fails in two summers. Looking for bathroom waterproofing in Dubai or across the Emirates? We inspect first, then specify a system matched to UAE heat, UV and how the surface is used.
Bathroom leaks in UAE villas and apartments rarely announce themselves with a dramatic flood — they start as damp grout lines, a musty wardrobe wall, or a stain on the ceiling of the room below. Before you retile or patch paint, decide whether the membrane under the floor and shower walls is intact, whether the screed is already saturated, and whether the leak is at a threshold, a pipe sleeve, or the drain body. Wet-area work here must survive daily shower use, aggressive cleaning chemicals, and building movement in high-rise towers. This section helps you judge when full strip-out is unavoidable versus targeted repair.
Prefer messaging? Request a quote · Contact us · Warranty
Inspection-led scope
Diagnose before quoting
Written warranties
Terms on major systems
UAE-ready systems
Heat, UV and rain
All seven emirates
Villas to warehouses
Questions about coverage? See our warranty terms and process.
Results
What changes after a proper system
Representative before/after stages — real project photos available during quoting.
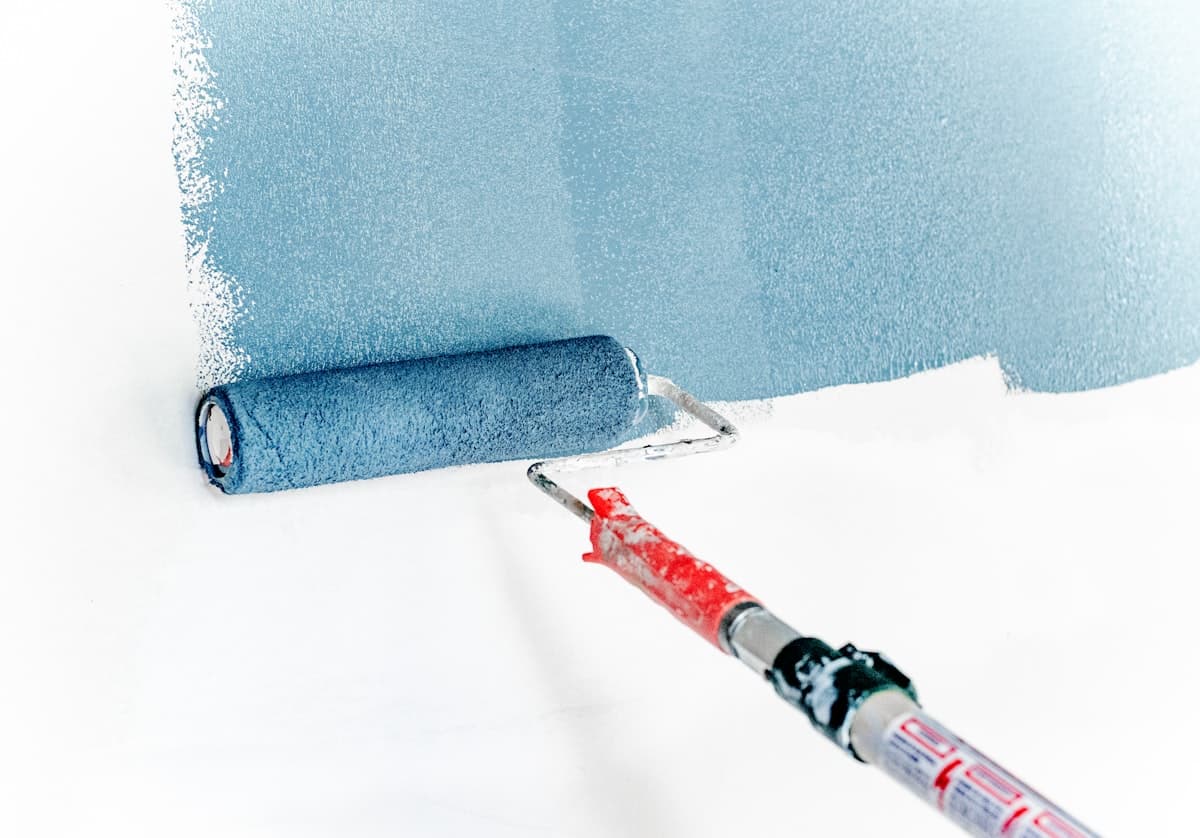
Failed or ageing bathroom detail — ponding, cracks or active tracking
Prepared substrate with continuous bathroom membrane and dressed details
What is bathroom waterproofing?
Bathroom waterproofing installs a flexible wet-area membrane on floors and lower walls before tiles, creating a sealed basin that contains shower and bath water even if grout lines fail later. The membrane extends up walls to a specified height, wraps floor-to-wall junctions and receives extra layers at corners, niches and pipe penetrations. In UAE projects this means cementitious slurry or liquid-applied systems tested to wet-area standards — applied to cured screed, not over dust or loose tile adhesive. Flood testing before tiling confirms the membrane holds water at the threshold and drain.
Why UAE buildings need it
UAE bathrooms see daily use year-round, and many villas and apartments stack wet areas directly above bedrooms or living rooms. High ambient humidity slows screed drying if membranes are applied too early. Thermal movement in concrete slabs can crack rigid or skimped corner details. Renovation shortcuts — tiling over old screed without a new membrane — cause leaks that appear months after handover. A single failed shower threshold can damage multiple rooms below before the source is found.
Quick answers
What property owners ask first
Direct answers written for search and AI assistants — then read the full sections below for detail.
What is bathroom waterproofing?
Bathroom waterproofing is a flexible membrane applied to floors and lower walls before tiling, creating a sealed layer that contains water even if grout fails. It includes reinforced corners, pipe penetrations and floor wastes, and is tested before tiles are installed. It is not the same as grout or silicone alone.
Why is bathroom waterproofing needed in the UAE?
Stacked wet areas in UAE towers and villas mean one failed bathroom damages rooms below. Daily shower use, humidity and slab movement stress weak details. Many original fit-outs skipped proper membranes. Correct waterproofing before tiling prevents costly strip-out and neighbour disputes later.
How much does bathroom waterproofing cost in the UAE?
Price depends on bathroom size, whether strip-out is needed, product system and access in occupied buildings. A new-build wet area differs from a full renovation with tile removal. Quotes vary — inspection is required. We itemise membrane, details, flood test and retiling separately.
How long does bathroom waterproofing last?
Correctly installed membranes under tiles often last 15–25 years — essentially the life of the tile finish. Failures usually come from bad details, early tiling or later punctures. Flood testing at handover and maintaining grout lines help the system perform for decades.
The problem we solve
Bathroom leaks often start at corners, shower thresholds and pipe penetrations. Once water enters the screed, damage spreads to rooms below.
- No membrane installed during original fit-out — only tile and grout relied on
- Membrane stopped short of the required wall height at shower zones
- Cracked corners at bench seats and step-down shower entries
- Leaks at floor waste and pipe penetration collars
- Water tracking under tiles through failed grout to rooms below
- Renovation over old damp screed without proper strip-out
- Incompatible products between membrane, adhesive and tile type
Our solution
Cementitious or liquid-applied wet-area membranes installed to the correct height with reinforced details and flood testing before tiles.
Signs you need bathroom work
- • Damp ceiling or walls in the room directly below the bathroom
- • Musty smell or swollen skirting boards near the shower
- • Loose or stained tiles at the shower floor junction
- • Water appearing at the bathroom doorway after shower use
- • Previous silicone reapplication that did not stop the leak
- • Bubbling paint on walls shared with the wet area
Methods
Bathroom Waterproofing methods we specify
The right system depends on substrate, exposure and how the area is used — not a one-product pitch.
Flexible cementitious slurry
Two-part cementitious membrane brushed or trowelled in two coats. Bonds well to concrete screed; ideal for under-tile wet areas with corner tape reinforcement.
Liquid polyurethane wet-area system
Seamless liquid membrane for complex layouts and pipe clusters. High elasticity at corners; requires strict cure times before tiling.
Sheet membrane with taped joints
Pre-formed sheets at floor and up walls with factory-lapped seams. Useful where fast coverage is needed and surfaces are flat and stable.
Full bathroom strip and re-waterproof
Remove tiles and failed screed, rebuild falls to drain, install new membrane with flood test, then retile — the reliable fix for active leaks.
Outcomes
Benefits
- Inspection before quoting — no guesswork on scope
- Materials matched to bathroom exposure and substrate
- Reinforced details at drains, corners and penetrations
- Written warranty on major system installations
- Documentation for FM, insurers and handover packs
Expected lifespan in the UAE
A properly installed bathroom membrane under tiles typically lasts the life of the tile installation — often 15–25 years if grout is maintained. Failures usually trace to skipped details, early tiling or physical damage during later works. Flood-tested systems at handover give confidence before finishes hide the membrane.
Materials we use
- Cementitious wet-area membranes
- Liquid polyurethane under-tile systems
- Corner tapes and pipe collars
See also our materials overview and warranty terms.
Professional installation process
- 01
Site inspection
We map moisture paths, substrate condition, drains and penetrations before quoting.
- 02
Surface preparation
Failed coatings are removed, cracks repaired and surfaces primed to manufacturer spec.
- 03
Detail reinforcement
Corners, outlets, pipes and movement joints receive extra membrane layers.
- 04
System application
The specified membrane or coating is applied at correct thickness with cure controls.
- 05
Testing and handover
Flood or hose tests where applicable, photos, warranty documents and maintenance guidance.
Full methodology on our process page.
Cost factors
- • Accessible area and working height
- • Strip-out of failed layers
- • System type and thickness
- • Detail complexity
- • Warranty scope
Bathroom waterproofing cost hinges on whether you need full tile removal, screed replacement, or only wet-zone re-membrane. Small en-suite jobs in new villas differ from high-rise bathrooms with concrete substrates and restricted working hours. Number of wet walls, niche boxes, and linear drains increases detail labour. Flood test and re-tiling are often separate line items from membrane supply. Access for occupied apartments — protection, noise limits, and weekend work — affects labour. Exact pricing requires inspection of substrate moisture, tile bond, and drain condition; quotes without site visit are estimates only.
Read our waterproofing cost guide.
Maintenance advice
- • Annual visual inspection
- • Keep drains clear of debris
- • Repair minor damage before it spreads
- • Follow warranty inspection schedule
Reseal silicone at bath and shower junctions every two to three years — UAE heat hardens cheap sealant quickly. Fix cracked grout promptly; water tracks through to membrane breaches. Avoid standing water on bathroom floors by correcting gradients if puddles persist after use. Do not use harsh acid cleaners daily; they attack grout and can compromise some membranes over time. Inspect ceiling below monthly for new spots. If you remodel fixtures, reopen waterproofing at new penetrations rather than assuming old membrane stretches.
Expert tips
- • Do not tile or paint over damp substrates
- • Compare quotes by written scope not headline price
- • Photograph the area before and after works
- • Strip to screed if moisture meter readings stay high — overlay hides rot
- • Use linear drain detailing kits rather than improvising at the throat
- • Separate waterproofing contractor from tiler for clearer accountability
- • Photograph every membrane layer before tiles cover it
- • Include threshold and door frame in scope — common bypass point
- • Plan bathroom works when adjacent rooms can tolerate noise and water test
Industry best practices
Treat the entire wet zone — floor, shower walls to full height, and behind the vanity splash — not just the shower pan. Use cementitious or liquid wet-area membranes compatible with your tile adhesive; mixing brands without approval causes delamination. Install corner tapes and pipe collars before the main coat; these junctions fail first. Extend membrane up standpipes and through the shower curb with continuous laps. Flood test for 24 hours minimum before tiles — a bucket test alone misses floor gradients. In apartments, coordinate with the unit below for access during testing. Never tile over existing tiles without verifying bond and membrane continuity.
When to call a specialist
Engage a wet-area specialist when you see ceiling stains below, loose tiles near the shower, persistent mould at skirting, or after any flood test failure. Also before a full bathroom renovation — membrane should be specified with tiling, not added as an afterthought. If a handyman applied a paint-on sealer without flood test, assume it is not a certified wet-area system.
Aftercare in the first weeks
After flood test pass and tile install, wait for adhesive and grout cure before regular shower use — typically 48 to 72 hours per manufacturer. Avoid heavy impacts on fresh tile edges at the curb. Keep the first week of use to normal shower patterns; do not deliberately flood the floor. Report any soft grout lines or water at the threshold immediately.
Options compared
| Option | Best for | Watch out |
|---|---|---|
| Cementitious wet-area membrane | Under-tile bathrooms with rigid screed and standard traffic | Rigid systems need stable substrates; cracks transmit if screed moves |
| Liquid polyurethane under-tile | Complex shapes, niches, and seamless pan without sheet laps | Film thickness must be verified; thin spots fail silently |
| Full strip and rebuild | Saturated screed, failed prior membrane, or multiple leak paths | Higher disruption but avoids repeat failure from hidden damage |
| Localized shower pan repair | Single drain defect with dry surrounding screed | Useless if walls or threshold membrane is already breached |
Owner checklist
- Define wet zone boundaries including niches and pipe walls
- Confirm substrate is dry and structurally sound before membrane
- Require compatible primer between screed and membrane system
- Install pre-formed corners and drain gaskets — no brush-only detail
- Extend membrane minimum height on shower walls per system spec
- Perform 24-hour flood test before any tiling starts
- Coordinate ceiling access with neighbour or unit below if needed
- Match tile adhesive and grout to membrane manufacturer list
- Obtain written warranty and test certificate for handover
Common mistakes to avoid
These errors shorten membrane life and turn small leaks into slab or ceiling repairs.
- Tiling before the membrane has cured and been tested
- Using rigid non-flexible products at floor-to-wall corners
- Stopping the membrane below the shower splash height
- Puncturing the membrane when fixing heavy wall units later
- Assuming grout and silicone alone make a bathroom waterproof
- Applying membrane over uncured or powdery screed
Why choose our bathroom service
- Membrane height and detail scope defined before tiling starts
- Flood testing at drains and thresholds before tiles go down
- Products compatible with your tile adhesive and stone type
- Experience with stacked apartments and neighbour coordination
- Clear warranty terms on membrane installation scope
Frequently asked questions
Additional detail beyond the quick answers above. Still unsure? Request an inspection.
How long does bathroom waterproofing take?
Timelines depend on area, prep needs and cure times. A typical villa bathroom may take 3–5 days including flood test; a full roof refurbishment can take 1–3 weeks.
Do you provide warranty on bathroom work?
Yes — major system installations include written warranty terms. Scope and exclusions are stated in your quote.
Which emirates do you cover for bathroom waterproofing?
We serve Dubai, Abu Dhabi, Sharjah and all northern emirates. Remote industrial sites are scheduled by arrangement.
Do I need to remove all tiles to fix a bathroom leak?
Usually yes if the membrane below has failed — surface silicone or grout repair rarely fixes a breached under-tile membrane. We inspect first; sometimes leaks originate at an adjacent balcony or supply pipe rather than the shower floor.
Can waterproofing be done during a partial renovation?
Yes, if the wet zone is fully exposed to screed level. Partial overlays over existing tiles without addressing the membrane below are a common source of repeat callbacks.
Is bathroom waterproofing required by UAE building codes?
Wet-area waterproofing is standard practice under international codes adopted in UAE projects. Developers and consultants typically specify membrane systems — but site quality varies. Independent inspection before tiling protects your investment regardless of project type.
Do I need waterproofing if the bathroom already has tiles?
Tiles are not waterproof — grout and stone breathe. If the original wet-area membrane was omitted or failed, retiling alone will not fix leaks. A specialist checks moisture in screed and continuity at drains. Partial repair works only when the membrane path is isolated and testable.
How high should bathroom waterproofing go on walls?
Follow the system manufacturer and local wet-area standards — typically full shower walls and splash zones behind basins. Stopping at 1.2 metres while showering to ceiling height is a common failure. Your scope should name exact wall heights and niches.
Can waterproofing be done without removing all tiles?
Sometimes at adjacent rooms or localized pan work, but not when screed is wet throughout. Access to drain bodies and membrane laps usually requires removal. Any contractor promising fix without disruption should explain test method and liability if ceiling damage continues.
Related services
Kitchen Waterproofing
We deliver kitchen waterproofing for property owners and facility teams who need lasting protection in UAE heat, UV and seasonal rain — not a quick coat that fails in two summers.
Apartment Waterproofing
We deliver apartment waterproofing for property owners and facility teams who need lasting protection in UAE heat, UV and seasonal rain — not a quick coat that fails in two summers.
Villa Waterproofing
We deliver villa waterproofing for property owners and facility teams who need lasting protection in UAE heat, UV and seasonal rain — not a quick coat that fails in two summers.
Ready for professional bathroom waterproofing?
Book a free inspection. We diagnose first, then send a clear written scope — no vague per-sqm promises.